Use Alprivo step by step, from your first record to reports.
This guide covers Alprivo Herd Management workflows, from setting up an account and building the herd to recording daily work, using the agenda, and reading reports.
Last reviewed:
Start with Alprivo
The first setup gives you a confirmed account, a clear starting point for farm records, and a safe path to the first animal entry.
- After confirming your email address, return to the app and sign in. Farm name is optional, and you can edit it later under Account.
- Country defaults to TR when the account is created. Choose currency under Account, remembering that a later currency change does not convert previously entered monetary values.
- For a new operation, add a few animals manually to learn the fields. If an inventory already exists, follow the order in the Excel import chapter.
Build your herd
Accurate identity, status, and date details form the base of the herd; later tasks and reports depend on that context.
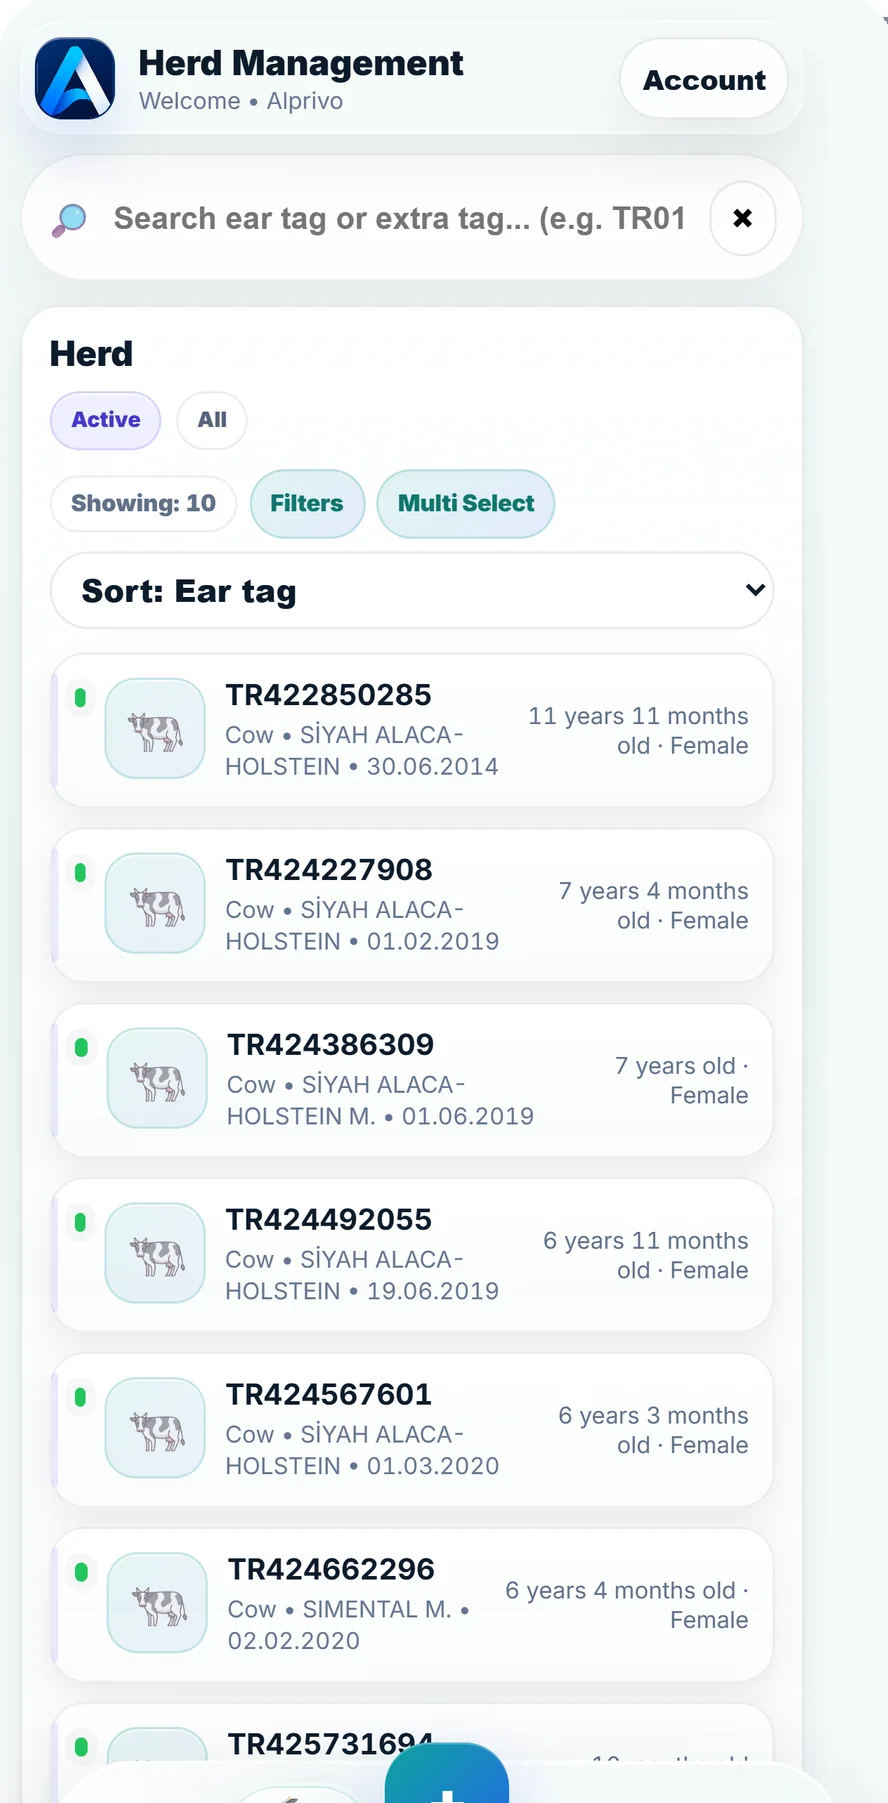
- Add a new animal from Herd. Enter available tag, secondary tag, category, birth date, status, photo, and notes according to the farm's real records.
- Search by tag or secondary tag, apply filters, sort the list, and use multi-selection. Multi-selection supports bulk tasks and bulk vaccination.
- Data Check separates missing or conflicting herd entries. Compare each item with the animal profile and farm records instead of applying an unverified correction in bulk.
Import from Excel
Excel import prepares an existing herd in bulk and accepts .xls and .xlsx files only.
- Prepare and import Animal Inventory first. Check the column preview and confirm that tag, date, and status fields line up with the correct rows.
- After the animal inventory is complete, import the Reproduction report if needed. This order lets reproduction rows match the animal records already present.
- Read the preview, active-animal plan-limit check, and repeat-import notice. Review added, matched, and attention-needed rows before confirming the import.
Use the home screen and Herd Assistant
Home is a working overview for reading herd state and near-term work at the start of the day.
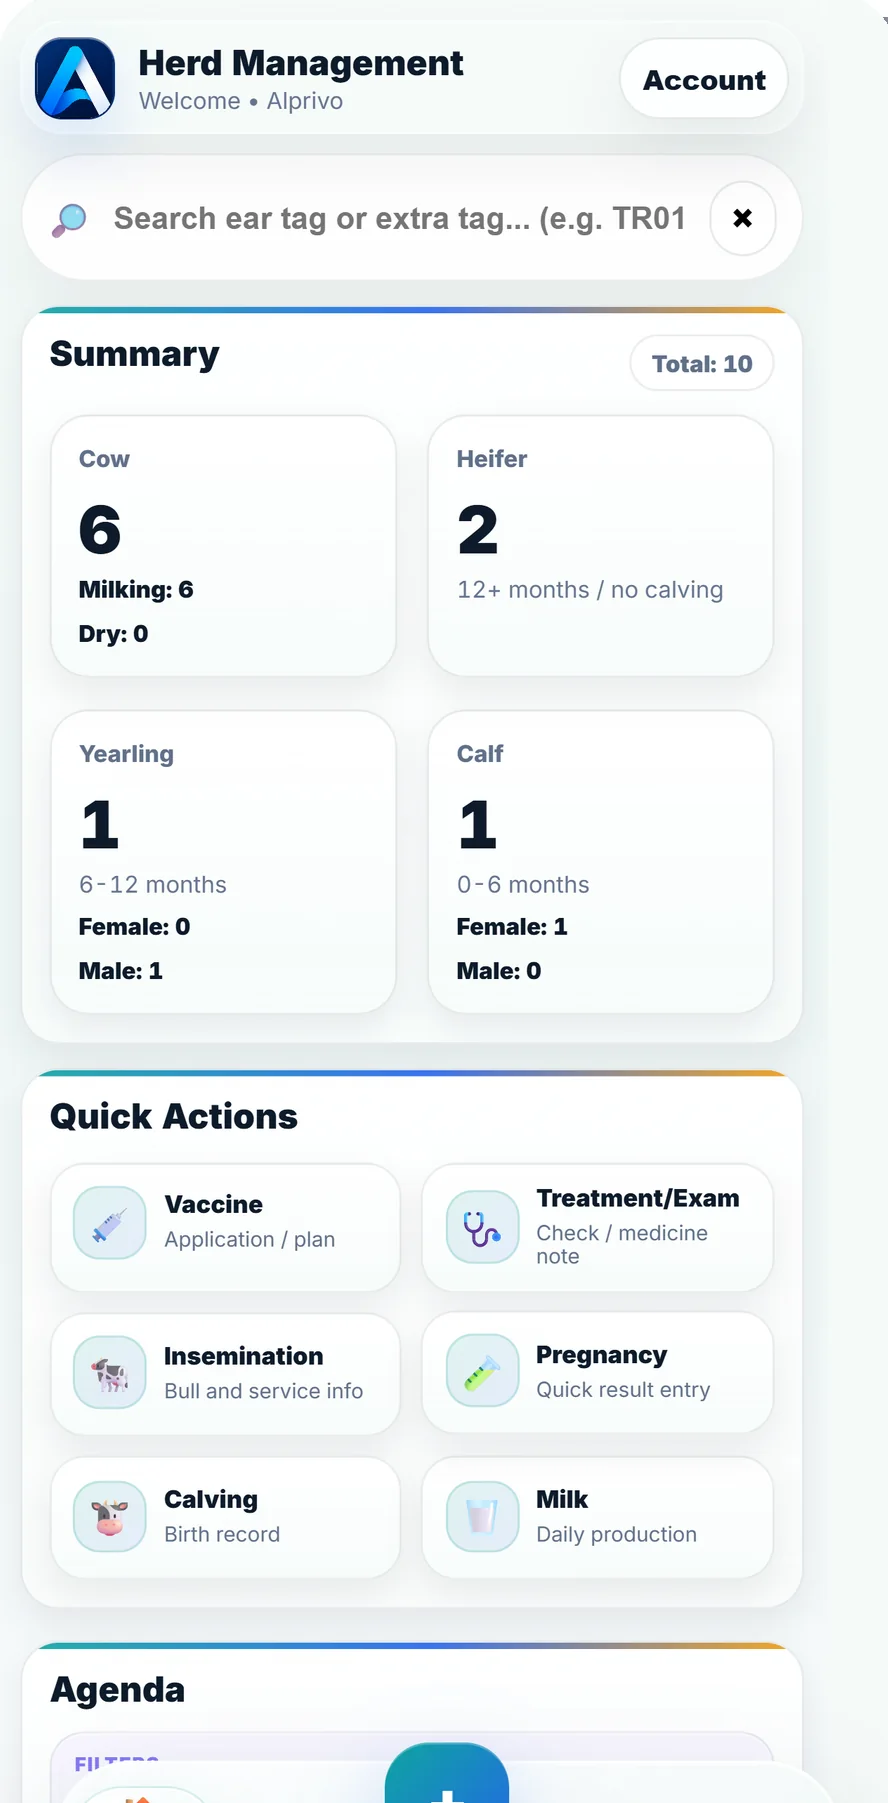
- Read the herd summary, Herd Assistant, today's milk, quick actions, agenda, and recent events together on the home screen.
- Herd Assistant surfaces attention areas based on your records. Open an item and check the related animal or work record before continuing.
- Quick actions start vaccination, treatment or examination, insemination, pregnancy, calving, milk, animal, and task entries. Confirm the animal and date before saving.
Work with an animal profile
An animal profile keeps identity and daily events beside pending work and long-term history.
- Check photo, identity, status, and notes at the top of the profile. If the wrong animal is open, return to Herd search before creating a record.
- Review events, pending tasks, reproduction summary, weight, and growth details. Each area reflects records previously attached to that animal.
- Read operation order on the timeline and add new work through a quick action. After saving, confirm that the event appears with the correct date and type.
Record daily work and quick actions
Quick actions shorten common entry flows while still attaching each event to the correct animal and date.
- Use + to choose vaccination, treatment or examination, insemination, pregnancy, calving, milk, animal, or task.
- Complete the animal, date, and required fields on the operation screen. Except for farm-total milk, confirm the correct animal profile for animal-based entries.
- After saving, reopen the animal timeline, recent events, or the related report to confirm the entry. If connectivity was unavailable, check the status of selected queued events.
Complete the calving flow
Calving connects the birth outcome to the dam and, for a live birth, to a new calf record.
- Open calving from the correct dam profile or a quick action. Record whether the birth was live or still and whether one calf or twins were born.
- For each live calf, complete tag and sex details. On the result, confirm that the new calf record is linked to its dam.
- When the relevant protocol is enabled, post-birth follow-up tasks join the agenda. Review their scope under Account > Agenda protocol settings.
Manage tasks, agenda protocols, and notifications
Tasks show work to be done, protocols shape task creation, and notifications control how alerts reach you.
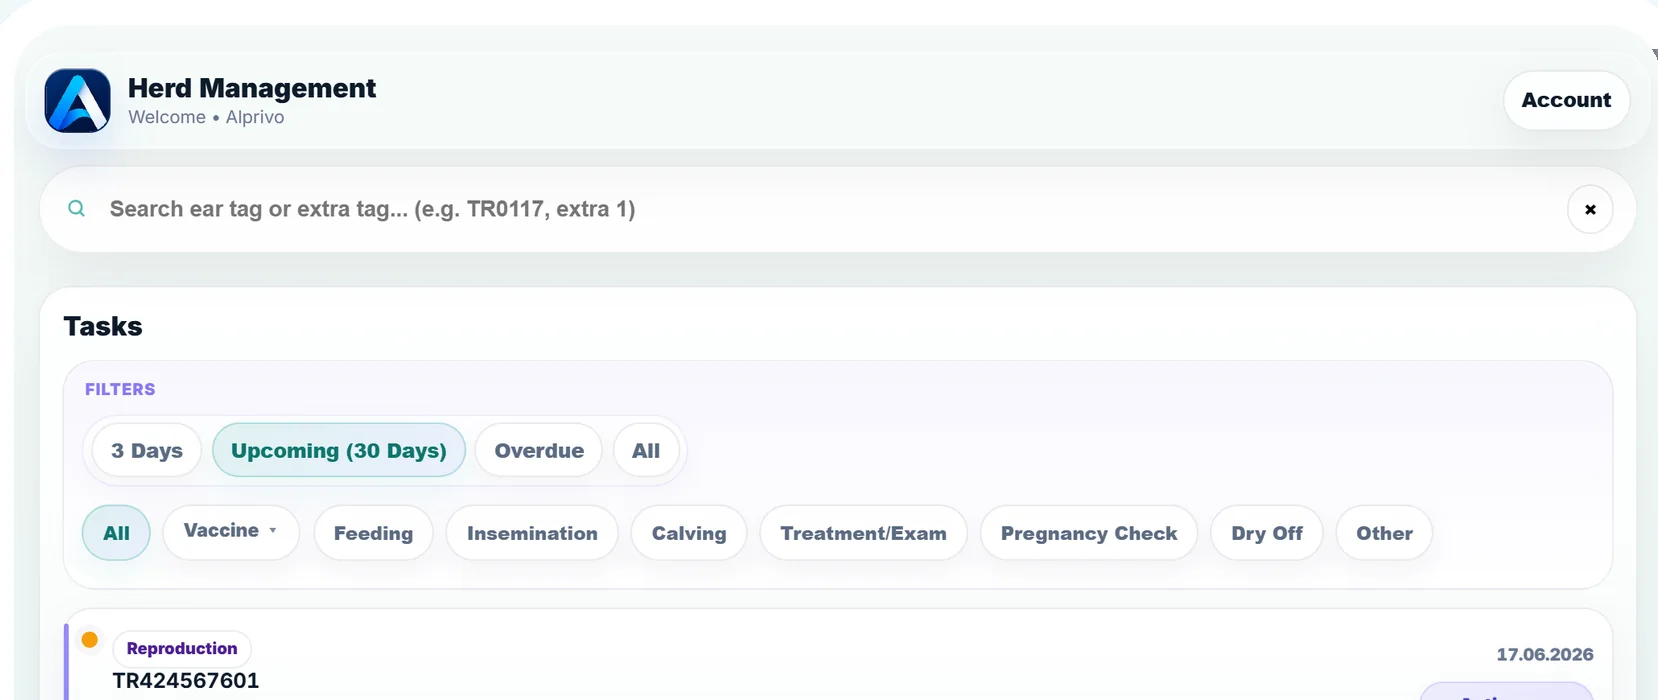
- Move between next-three-days, upcoming, overdue, and all-task views. Open the date and animal context before completing or reassessing the work.
- Under Account > Agenda protocol settings, review and edit the 28 protocols across birth and calf, reproduction and pregnancy, vaccination and parasite, treatment, and dry-period groups.
- Review the separate Notifications area under Account. An enabled protocol affects task creation, while notification preferences affect how an alert appears on the device.
Track milk
Milk can be recorded as a farm total or by animal, and that choice determines the detail available later.
- Open Milk from quick actions and choose farm-total or animal-level entry. Enter the date and amount from the real daily record.
- For animal-level work, confirm the animal profile. For farm totals, try to keep the entry approach consistent throughout the period.
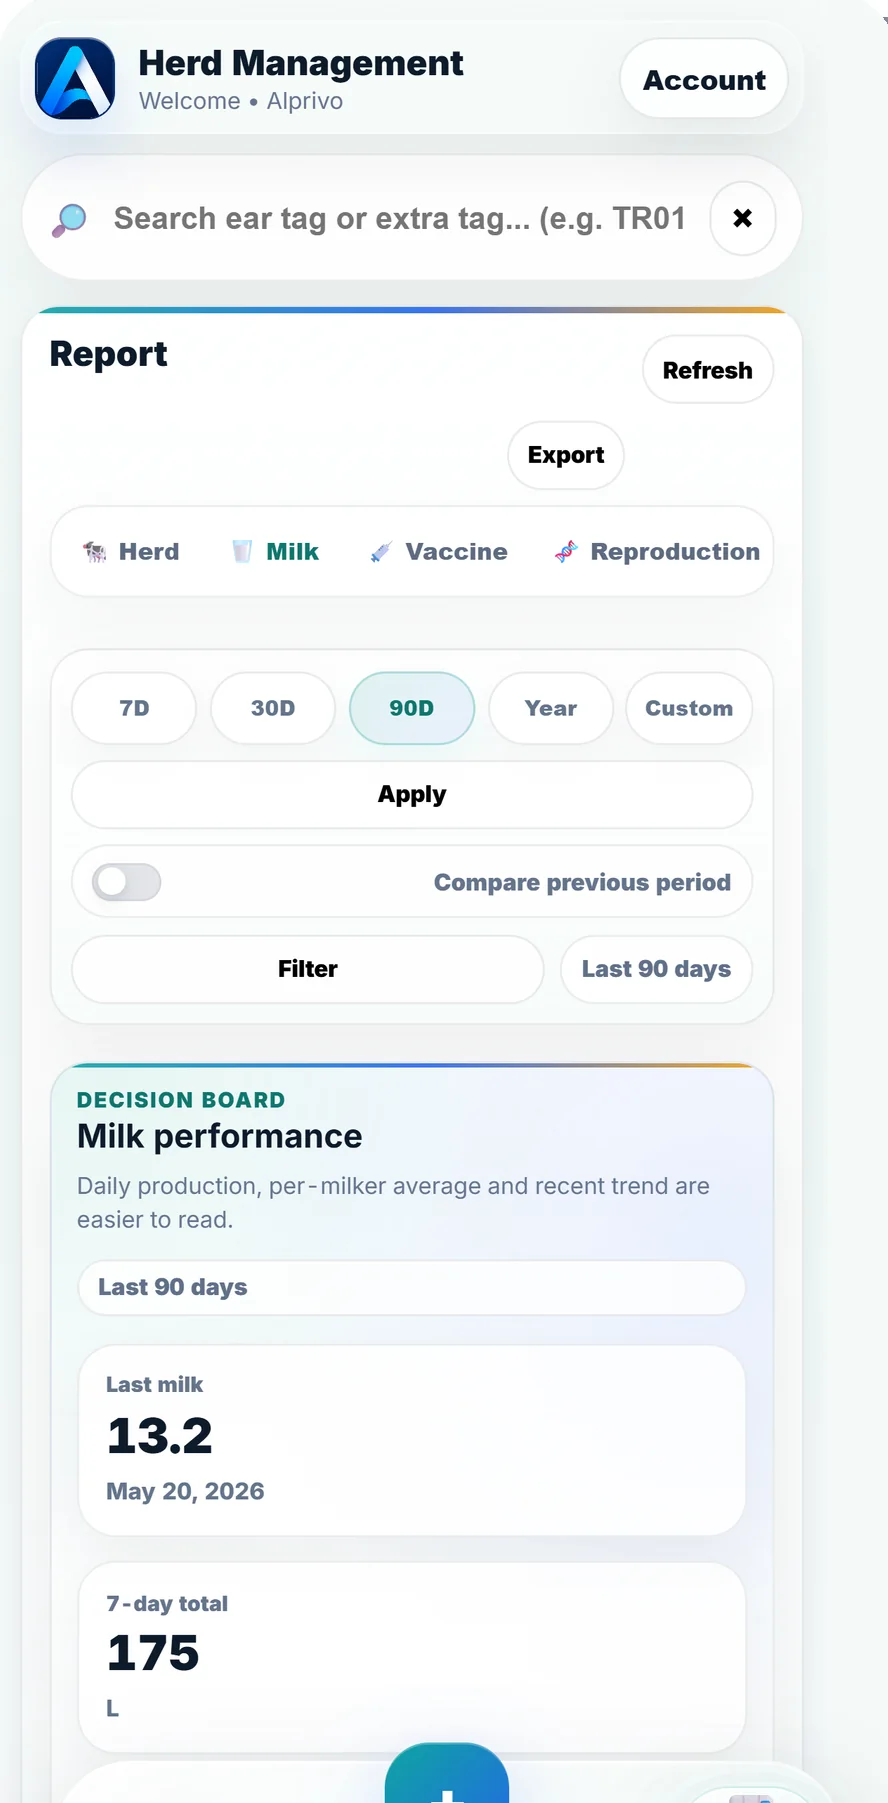
- In the milk report, inspect daily detail, trend, date range, previous-period comparison, and animal ranking, then create a supported output when needed.
Read reports and operation history
Reports provide period views that lead back to source records; they do not fill gaps with predictions.
- In Reports, choose herd, milk, vaccination, reproduction, operation history, analytics, income and expenses, or ration according to the question at hand.
- Set the date range and open previous-period comparison where available. If a value looks unexpected, return to the animal profile or operation history.
- Create PDF or Excel output in supported areas. A verified Reproduction Report PDF is available, and output follows the selected app language.
Manage income, expenses, and rations
Business tools record monetary movement plus feed and ration cost; they do not replace professional nutrition advice.
- Under Income and Expenses, keep income, expense, debt, and credit entries with the correct date and description. Maintain milk price from the farm's records.
- Organize feeds in the feed library, then review ration components and cost. Read IOFC in the context of the milk and feed values you entered.
- Check the report period and currency. Even when currency changes under Account, existing monetary values are not converted automatically.
Manage account, plan, and subscription
Account combines farm settings, plan status, subscription links, and account operations.
- Review farm name, country, and currency under Account. Farm name is optional, and changing currency does not convert existing amounts.
- The free limit is 15 active animals. For larger herds, consider 50 Animals, 150 Animals, or Unlimited Animals based on the options shown in your store.
- Monthly or yearly availability, price, currency, tax, and subscription management are controlled by the App Store or Google Play. Check the details in the purchasing store.
Understand connectivity, synchronization, and troubleshooting
Offline boundaries vary by operation, so read connectivity together with the result of the entry you attempted.
- Selected event records can be queued while connectivity is unavailable and wait to send when it returns. Tasks, Excel import, and calving need a connection.
- If a record is missing, first check the animal and date, then confirm that connectivity has returned and reopen the related profile, task, or report screen.
- If the issue remains, contact support with platform, app version, screen, approximate date and time, error text, and the steps that reproduce the issue.
Get support and manage account operations
A useful support request includes reproducible technical details but excludes secrets and payment credentials.
- Write to [email protected] with platform, app version, affected screen, approximate date and time, error text, and the steps that reproduce the issue.
- If you attach a screenshot, hide personal and farm information. Never send a password, verification code, store payment information, or secret key.
- For deletion, tap Account at the top of Home, open the Account tab, and start the account deletion request at the bottom. If the app is unavailable, email support from the address used on the account.